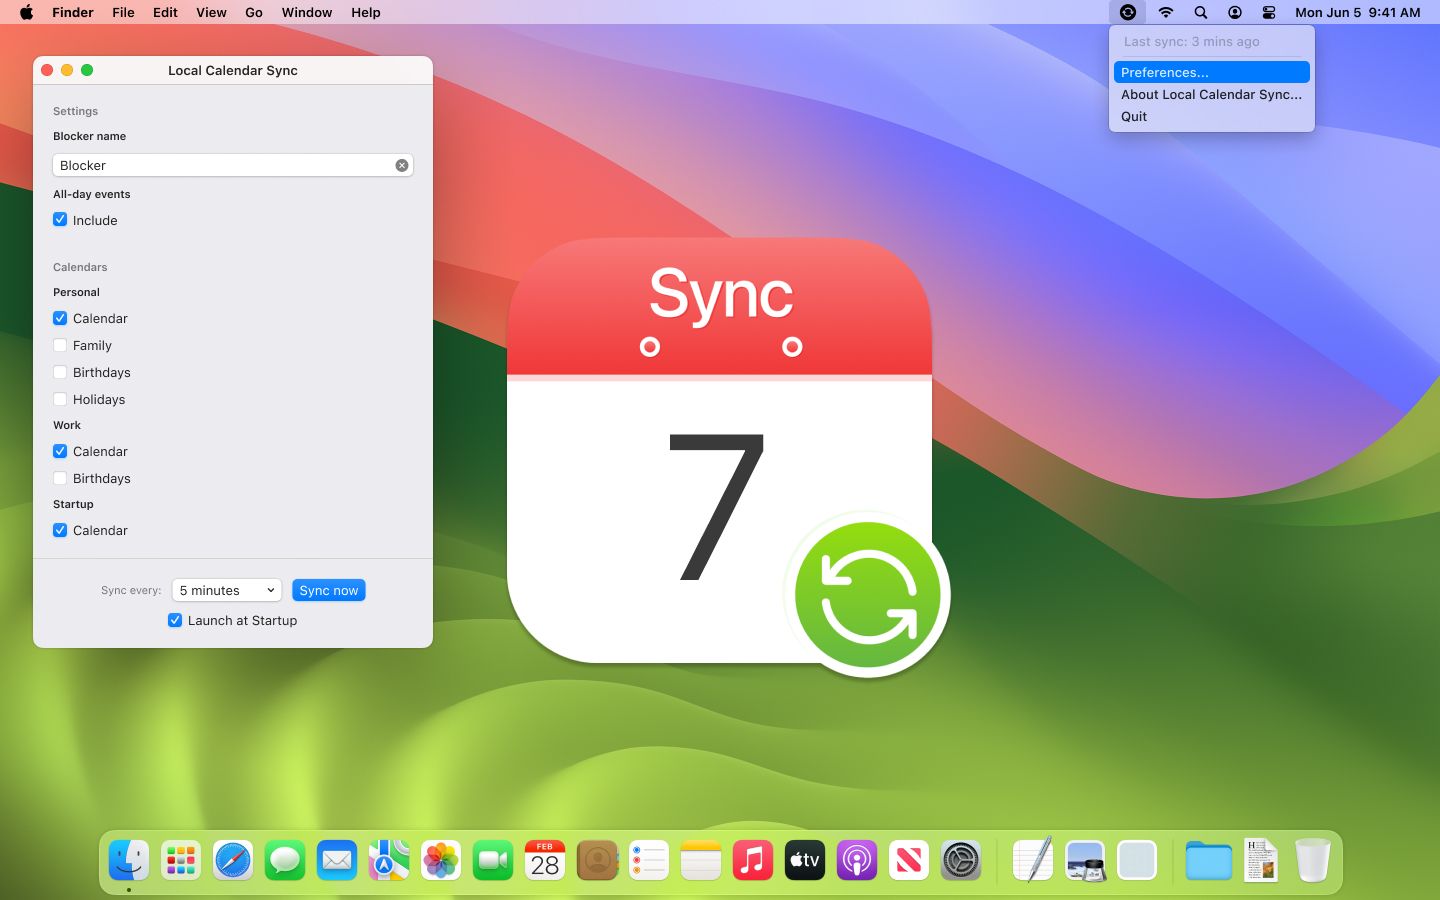
Building Local Calendar Sync Day 07: Publish to the App Store
Last day of building Local Calendar Sync. Here is how to publish the macOS App to the Apple App Store.

Apple's "It just works" only applies to consumer and end-customer processes! I am sorry, that it took a while to write this last post about the short macOS App Development adventure, but as you will read below, Apple just made we wait until I was able to publish the app. But now we are ready. Let's go and publish the app to the Apple App Store, to make sure that I am not the only one with a perfectly synced calendar, but others can benefit from it, too.
The App Store fiasco
Distributing an app via the Apple App Store has pros and cons, especially when offering a paid app. Apple charges a 30% fee for all sales in the App Store and you need to purchase a $99.00/year developer licence from them. On the other hand, they manage discoverability, updates and protection from illegal copies for you. As I had only 7 days, I did not want to add payment, licence and update mechanisms myself, so I chose the App Store way and purchased an Apple Developer Account.
At least I tried. The process is really buggy and, for whatever reason, it takes up to 48 hours for an account to get created after the $99.00 payment has been made. After I paid, my account got stuck with this view below, which asked me to complete my purchase again.

This made me believe that my first purchase did not work, so I clicked the link, entered my credit card information again and paid another (!!!) $99.00, which changed exactly nothing. The screen stayed the same, and I could have probably repeated the payment another 100 times. Long story short: I wrote the Apple Support to give me a refund for the second payment and just waited a few days. After 3 days, they finally approved my account and gave me the refund.
Publishing the App
As someone, who never built an App natively with Swift and Xcode, I was pleasantly surprised about how easy it nowadays is to publish an app to the App Store right from the IDE.
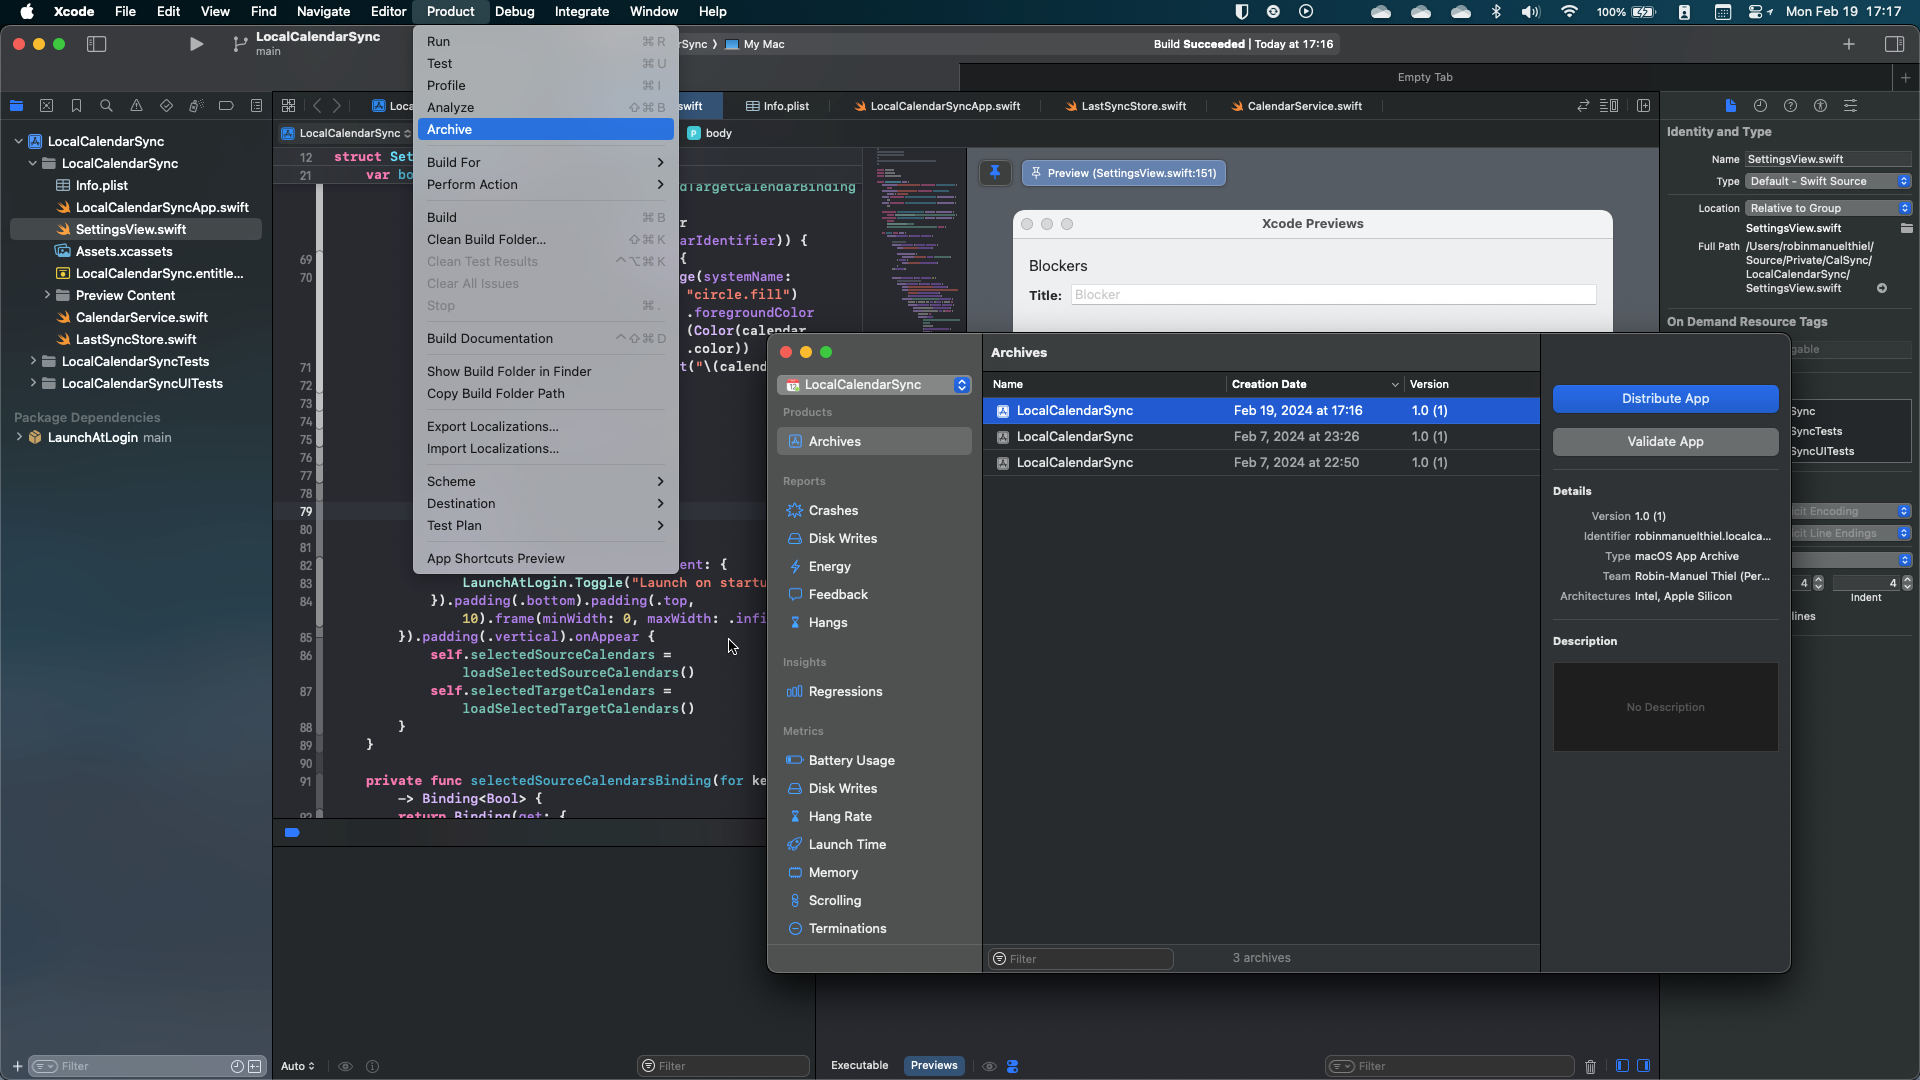
Just click Product -> Archive to create a distributable version of your app and open the Organizer window. From here, we can click Distribute App, which leads us through the various ways of distributing macOS Apps (App Store, Test Flight for Beta Tests or Direct Distribution without the App Store).
Whatever you choose, it is always recommended to Notarize the App, which is the process of automatically letting Apple check them for malicious code, so it won't be displayed as unsafe to your future users. The App Store does this automatically, but it's recommended even if you don't distribute through the App Store. But keep in mind, that for Notarization, a paid Apple Developer Account is required.
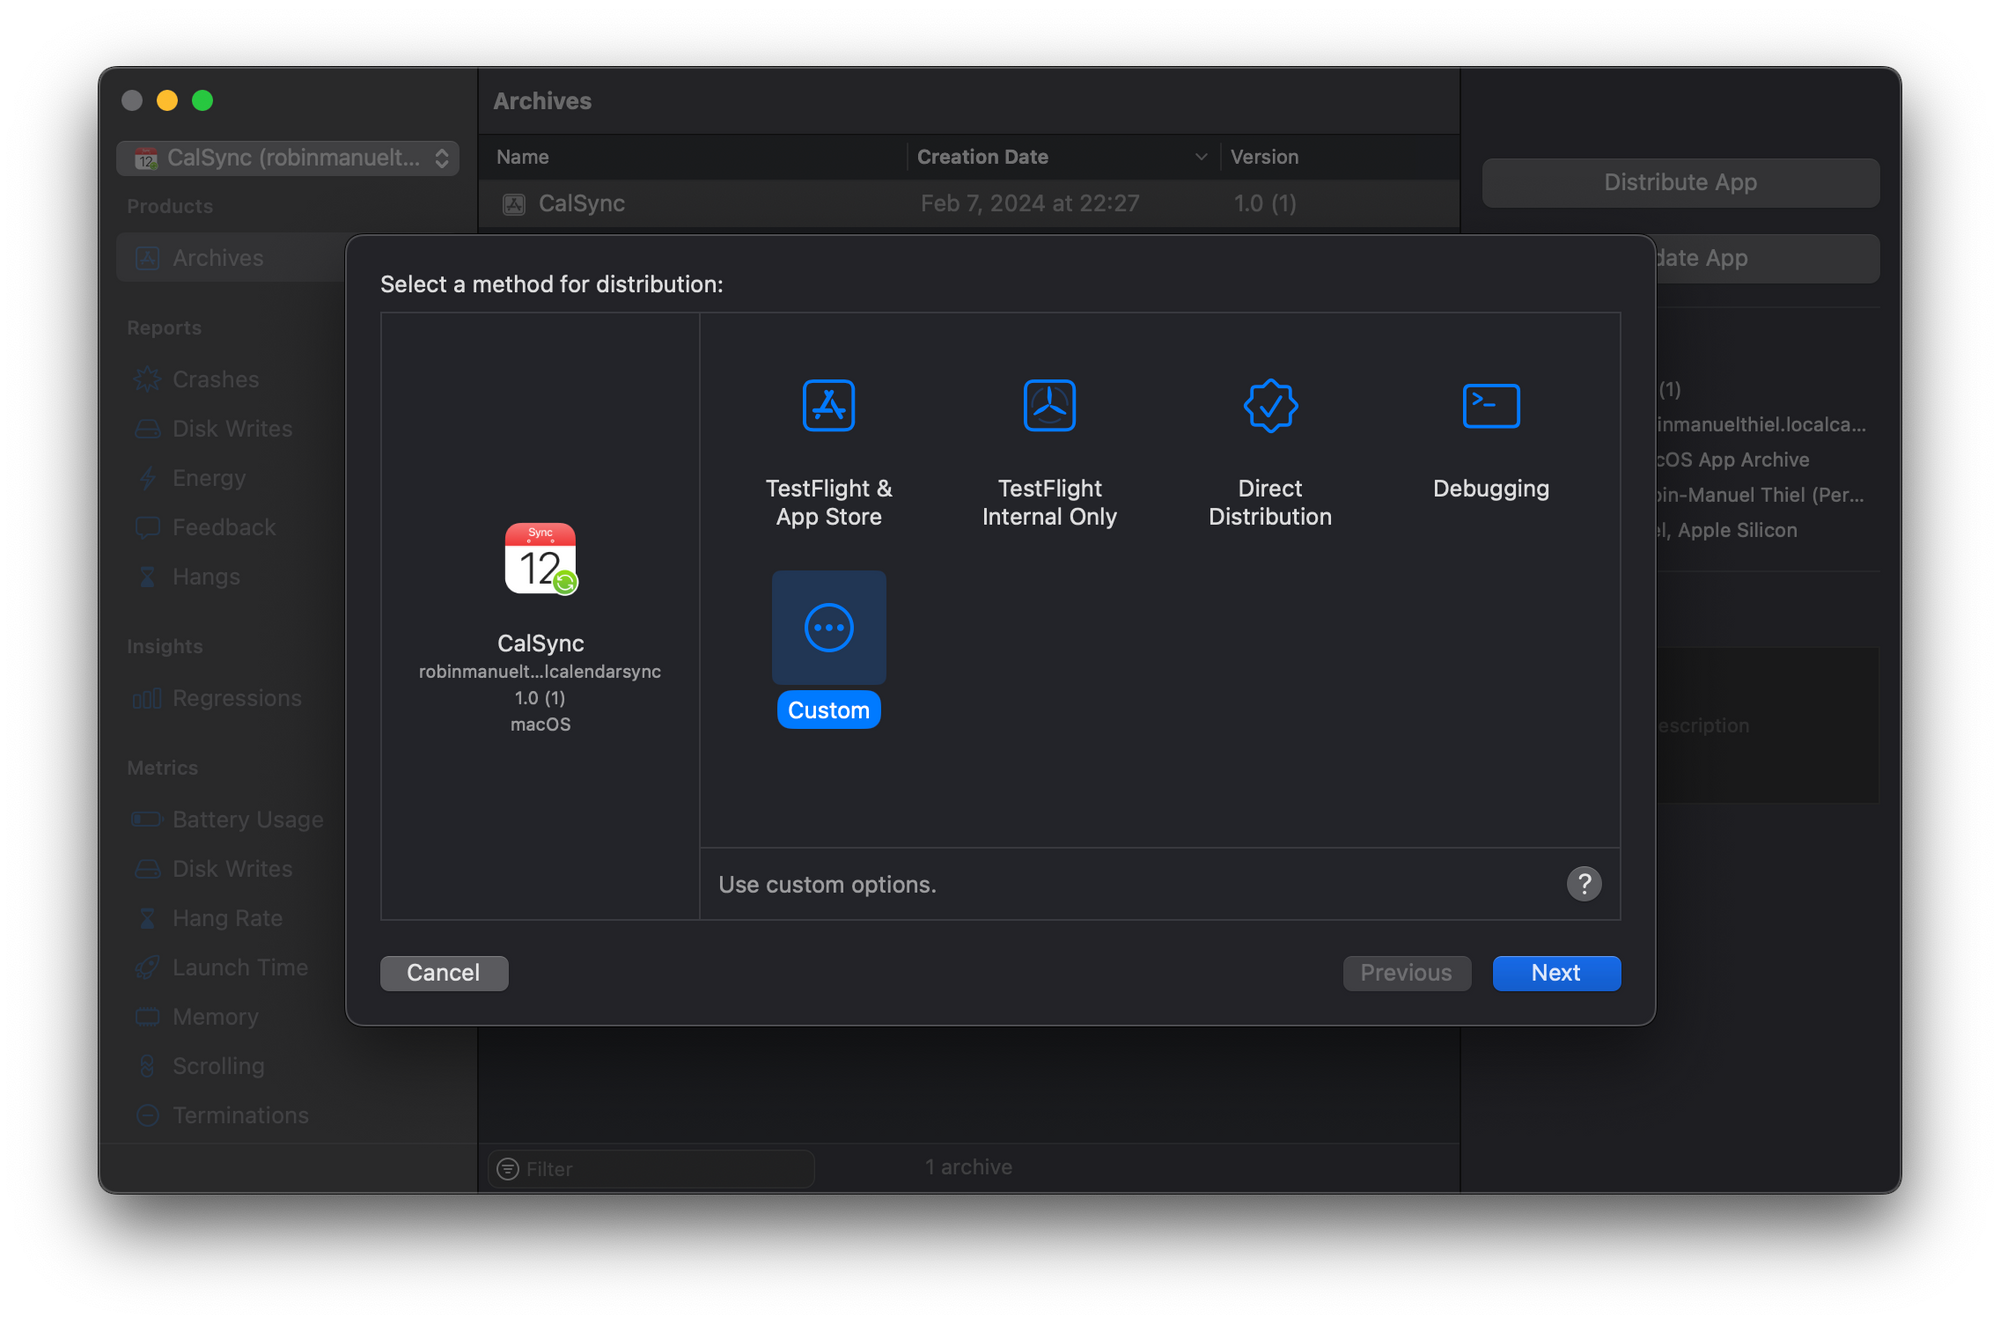
When selecting Test Flight & App Store distribution, the App gets automatically uploaded to your Developer Account, from where you can create a new App Store App or a new Release for an existing App with it.
After describing the App, uploading screenshots, submitting a bunch of Tax Information and providing some regulatory details about me and the app, I was finally able to submit the very first version of the app for review, to let Apple's tester investigate what I built.
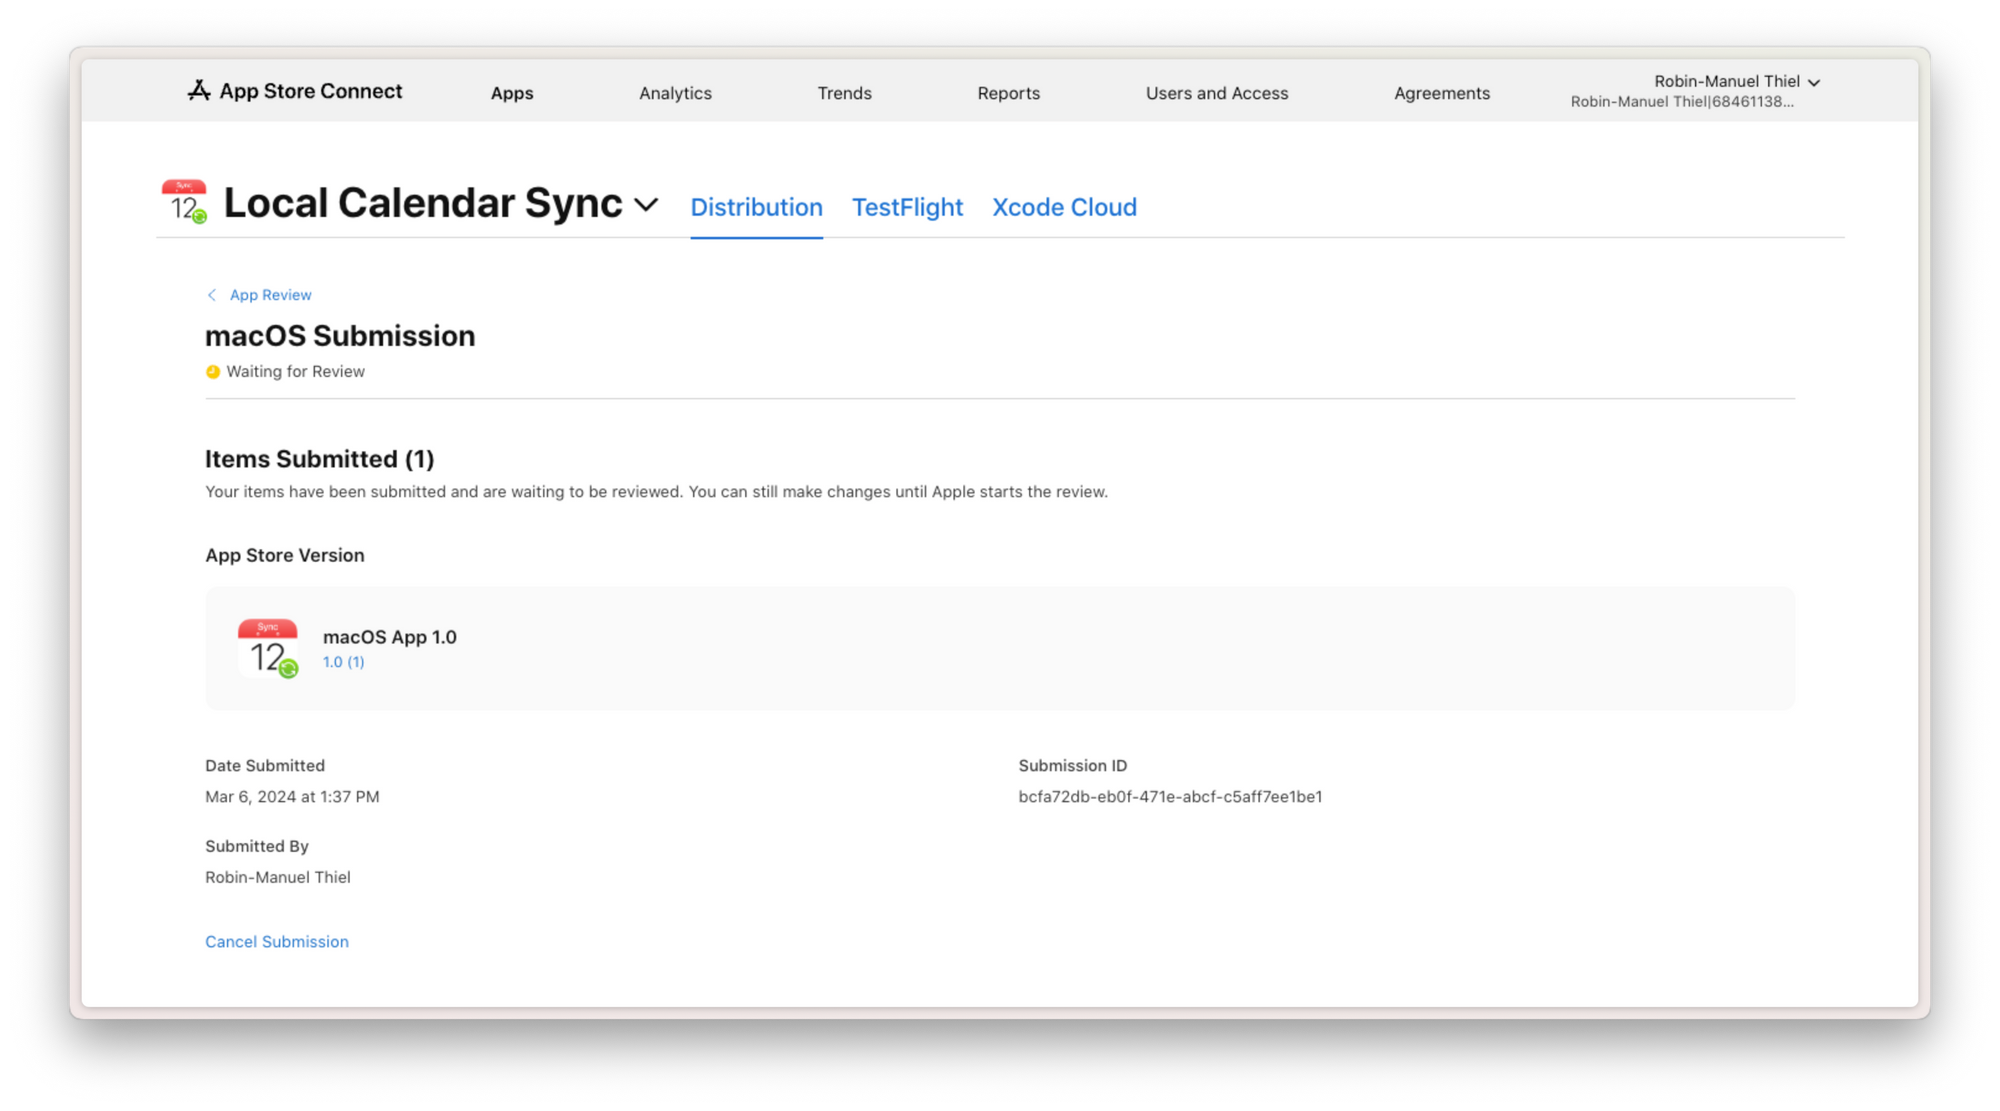
The review process was quite fast, and after less than 24 hours I received an E-Mail informing me, that the App was ready to be released! And with that: The very first version of the app is live and can be downloaded from the Mac App Store! 🎉
So we are done. It was possible to build a small and frontend-only Mac App in just 7 days (or better evening coding sessions) and upload it to the Mac App Store.
It was an extremely fun project for me, especially as I learned Swift throughout the way and enjoyed working on a small project with such a narrow scope a lot, which reminded me back to my early days as a Software Developer, as I started my career in the cross-platform mobile apps space.
What's next?
It was my goal to launch this app as fast as possible with the minimum possible set of features. Not only because I strongly believe in launching early and gathering user feedback from day one is crucial, but also because I need this app in my life (it has already made my calendar so much better while developing it) and i wanted to get it in your hands quickly as well.
If you are not embarrassed by the first version of your product, you've launched too late.
Reid Hoffman (Founder of LinkedIn)
But the journey is not over yet. As mentioned above, this is the very first version of the app with the most possible minimal feature set. In the near future, I am planning some updates.
- Choose to create anonymous blockers or full copies of calendar events
- Create multiple sync rules for different calendars
- Make sync frequency configurable
- Make sync timebox configurable (currently it only syncs events from the next 365 days)
- Clearer documentation of how the tool works and when
So stay tuned for future updates. This blog series ends here, and I hope you enjoyed reading and following along. I am happy if you learned something in these 7 days, just like I did.
Keep on coding!✌️
☝️ Advertisement Block: I will buy myself a pizza every time I make enough money with these ads to do so. So please feed a hungry developer and consider disabling your Ad Blocker.