How I built my Dream Desk
Last summer, I spent a day in my garage to build the perfect standing desk for my home office which is adjustable in height, supports wireless charging, hides all cables away from me and has indirect lights.

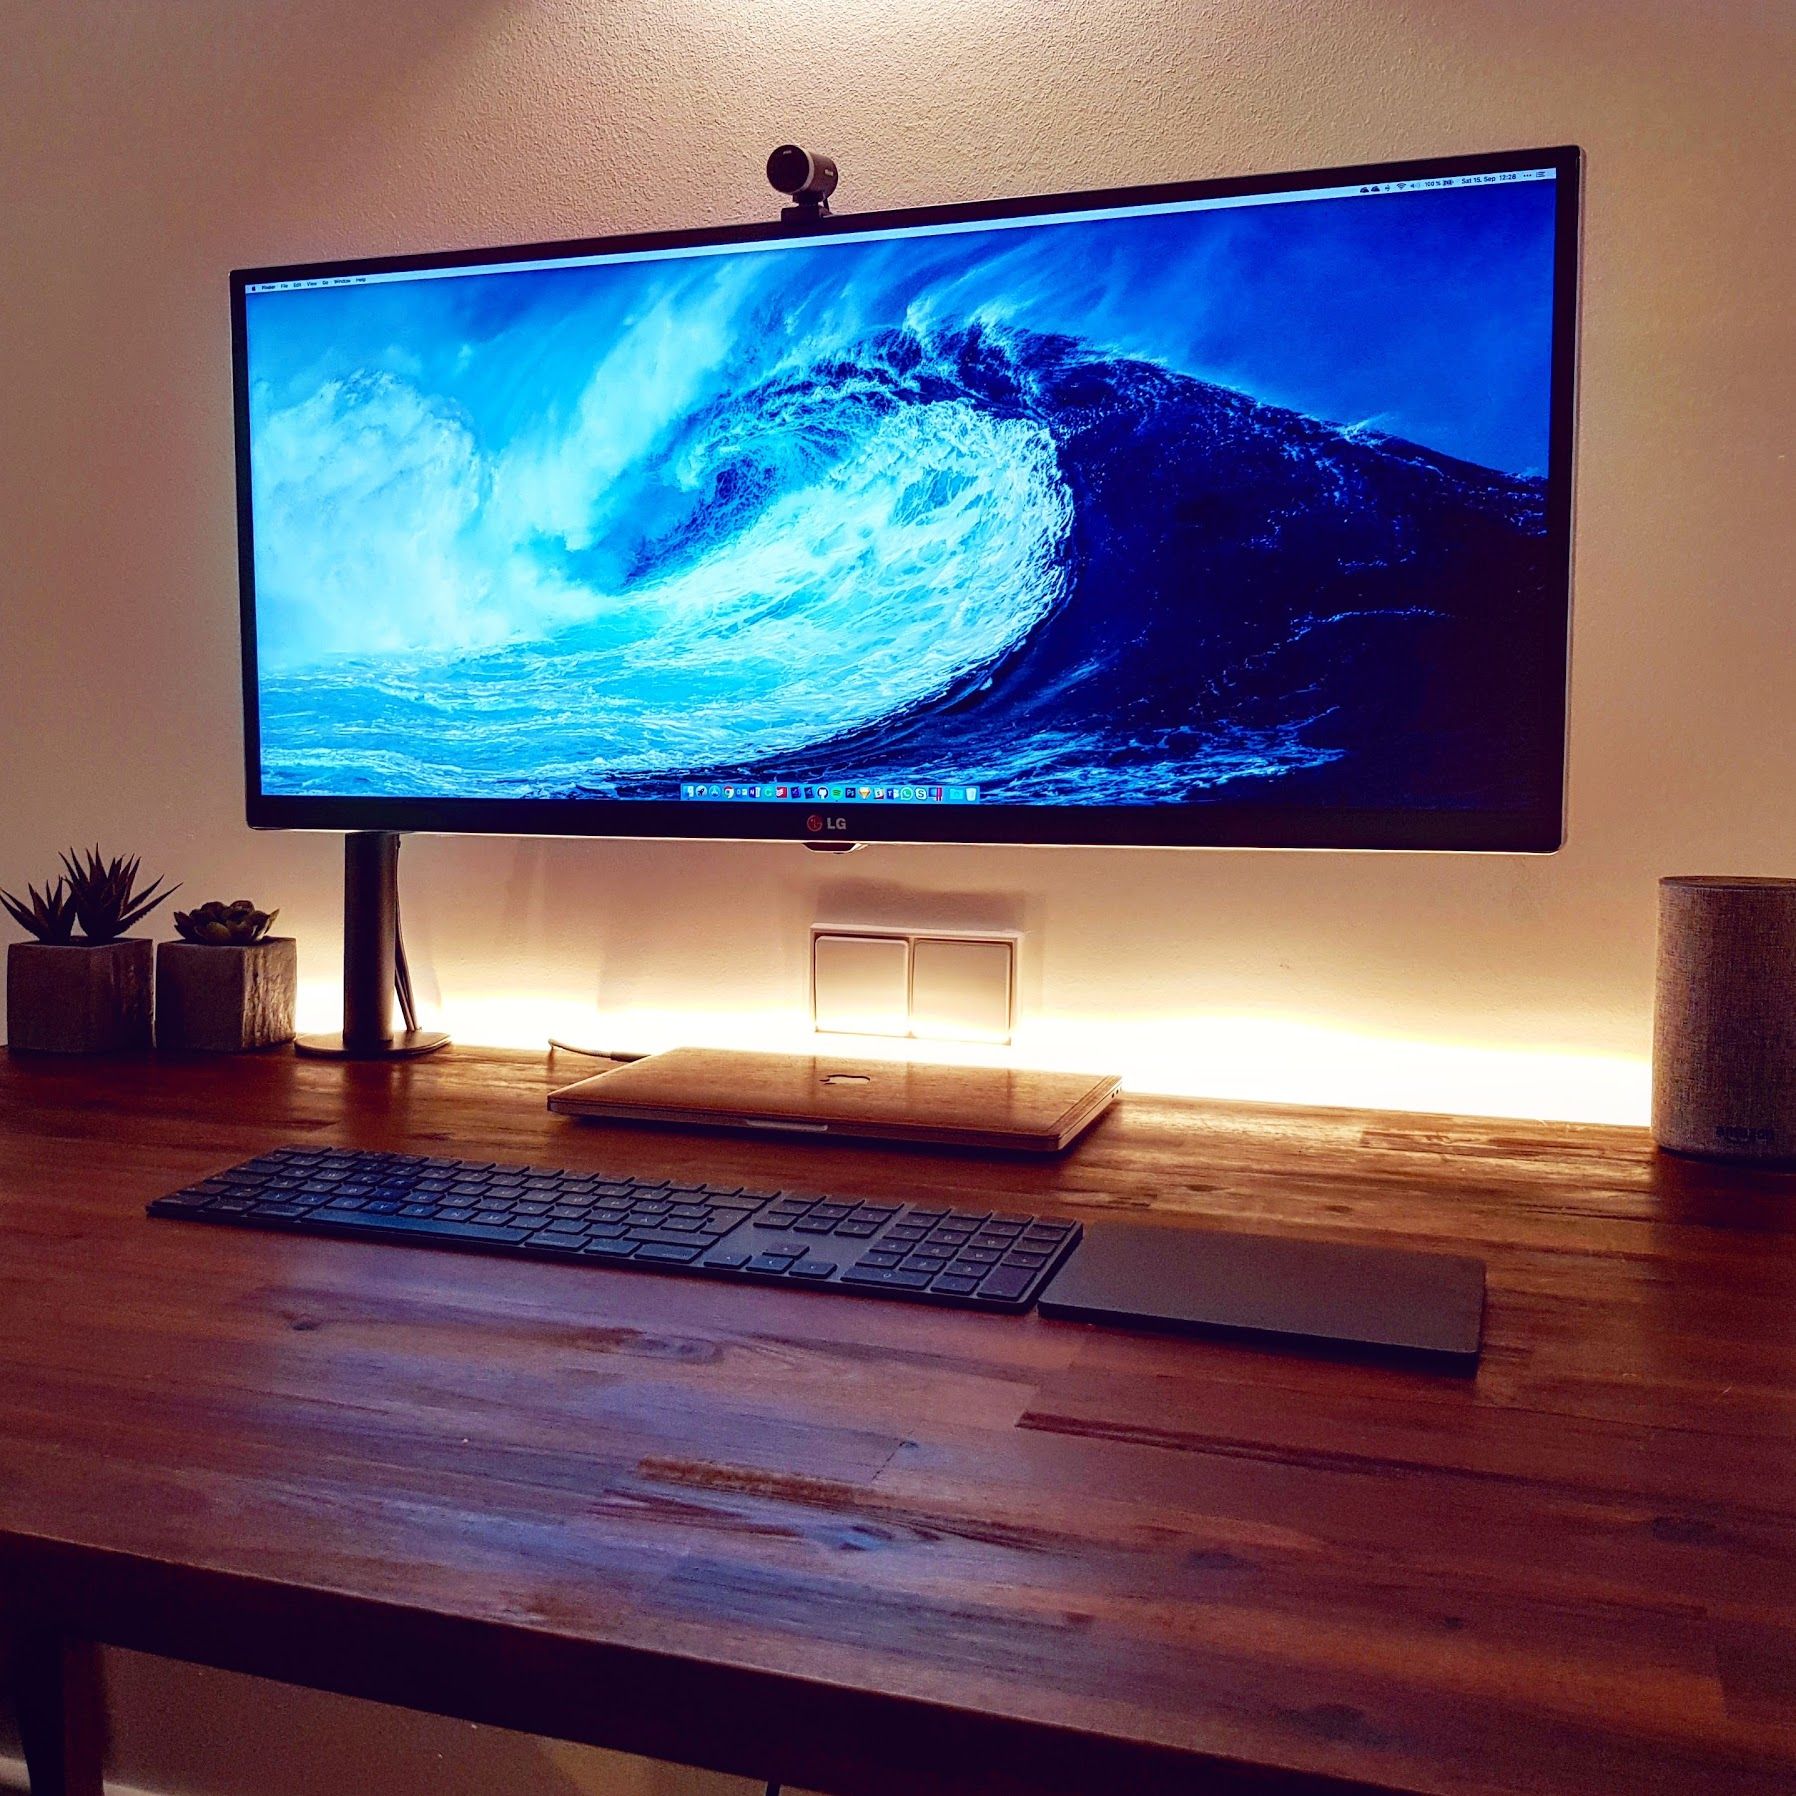
Last summer, I spent a day in my garage to build the perfect desk for myself. I always dreamed of a super clean desk for my home office which is adjustable in height, supports wireless charging, hides all cables away from me and has indirect lights. Here is the result.
Tabletop with a hidden wireless charger
The tabletop is the core of every desk. I always wanted one made of dark wood, to I went to the local building supplies store and got myself an oak wood board cut. To ensure that it perfectly fits into the desk's final location, I asked the store to cut it to my desired custom size.
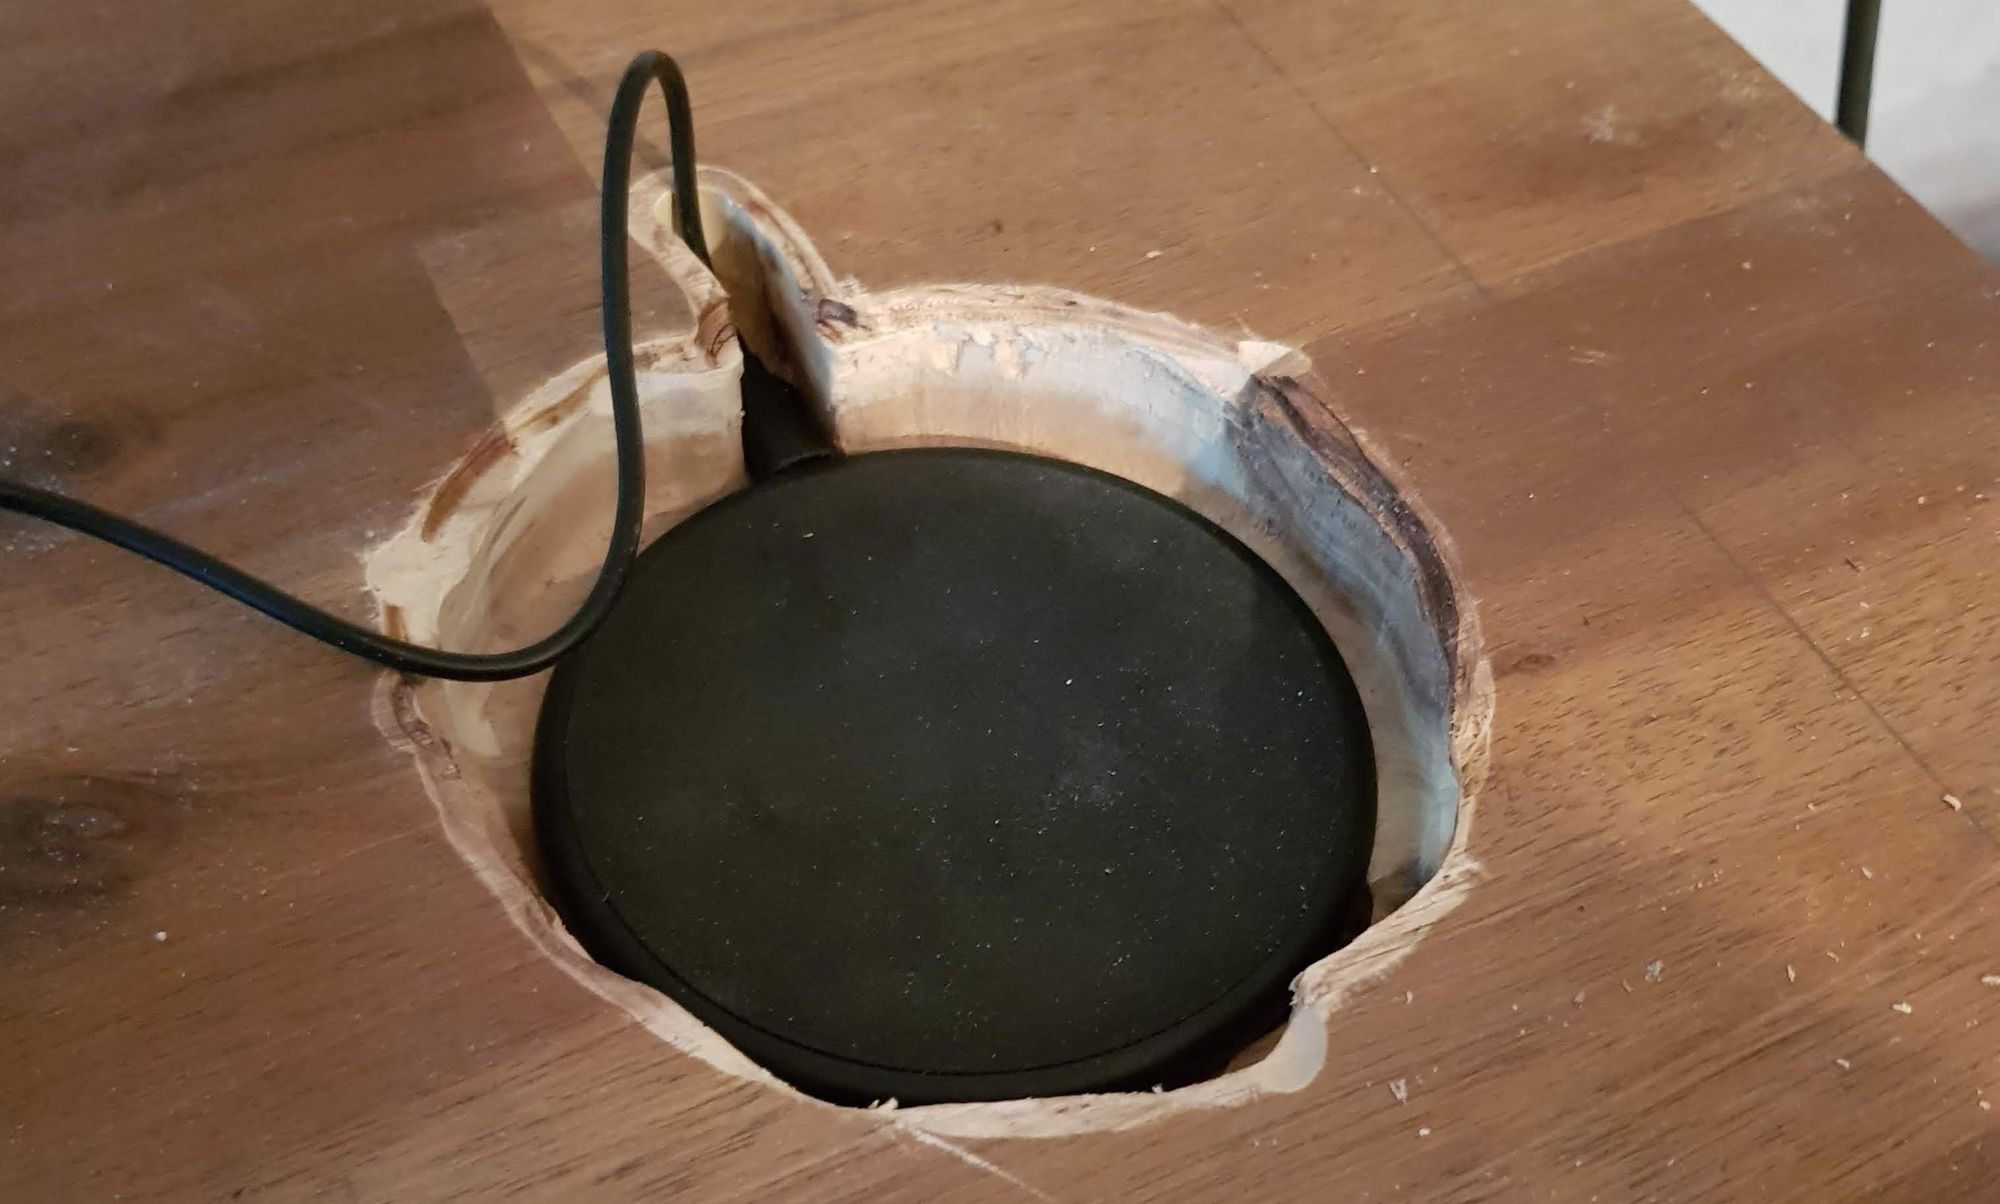
To add the hidden wireless charging, I bought the Anker PowerPort 5*, a wireless charging pad, that was designed to charge through thin materials. The tabletop was too thick to just place the charger beneath it, so I rented a Plunge Router to remove some wood at the place where the charged will be placed. Once the wireless charging pad came close enough to the tabletop's surface to charge through it, I used hot glue to let it stick into position.
Standing desk table legs
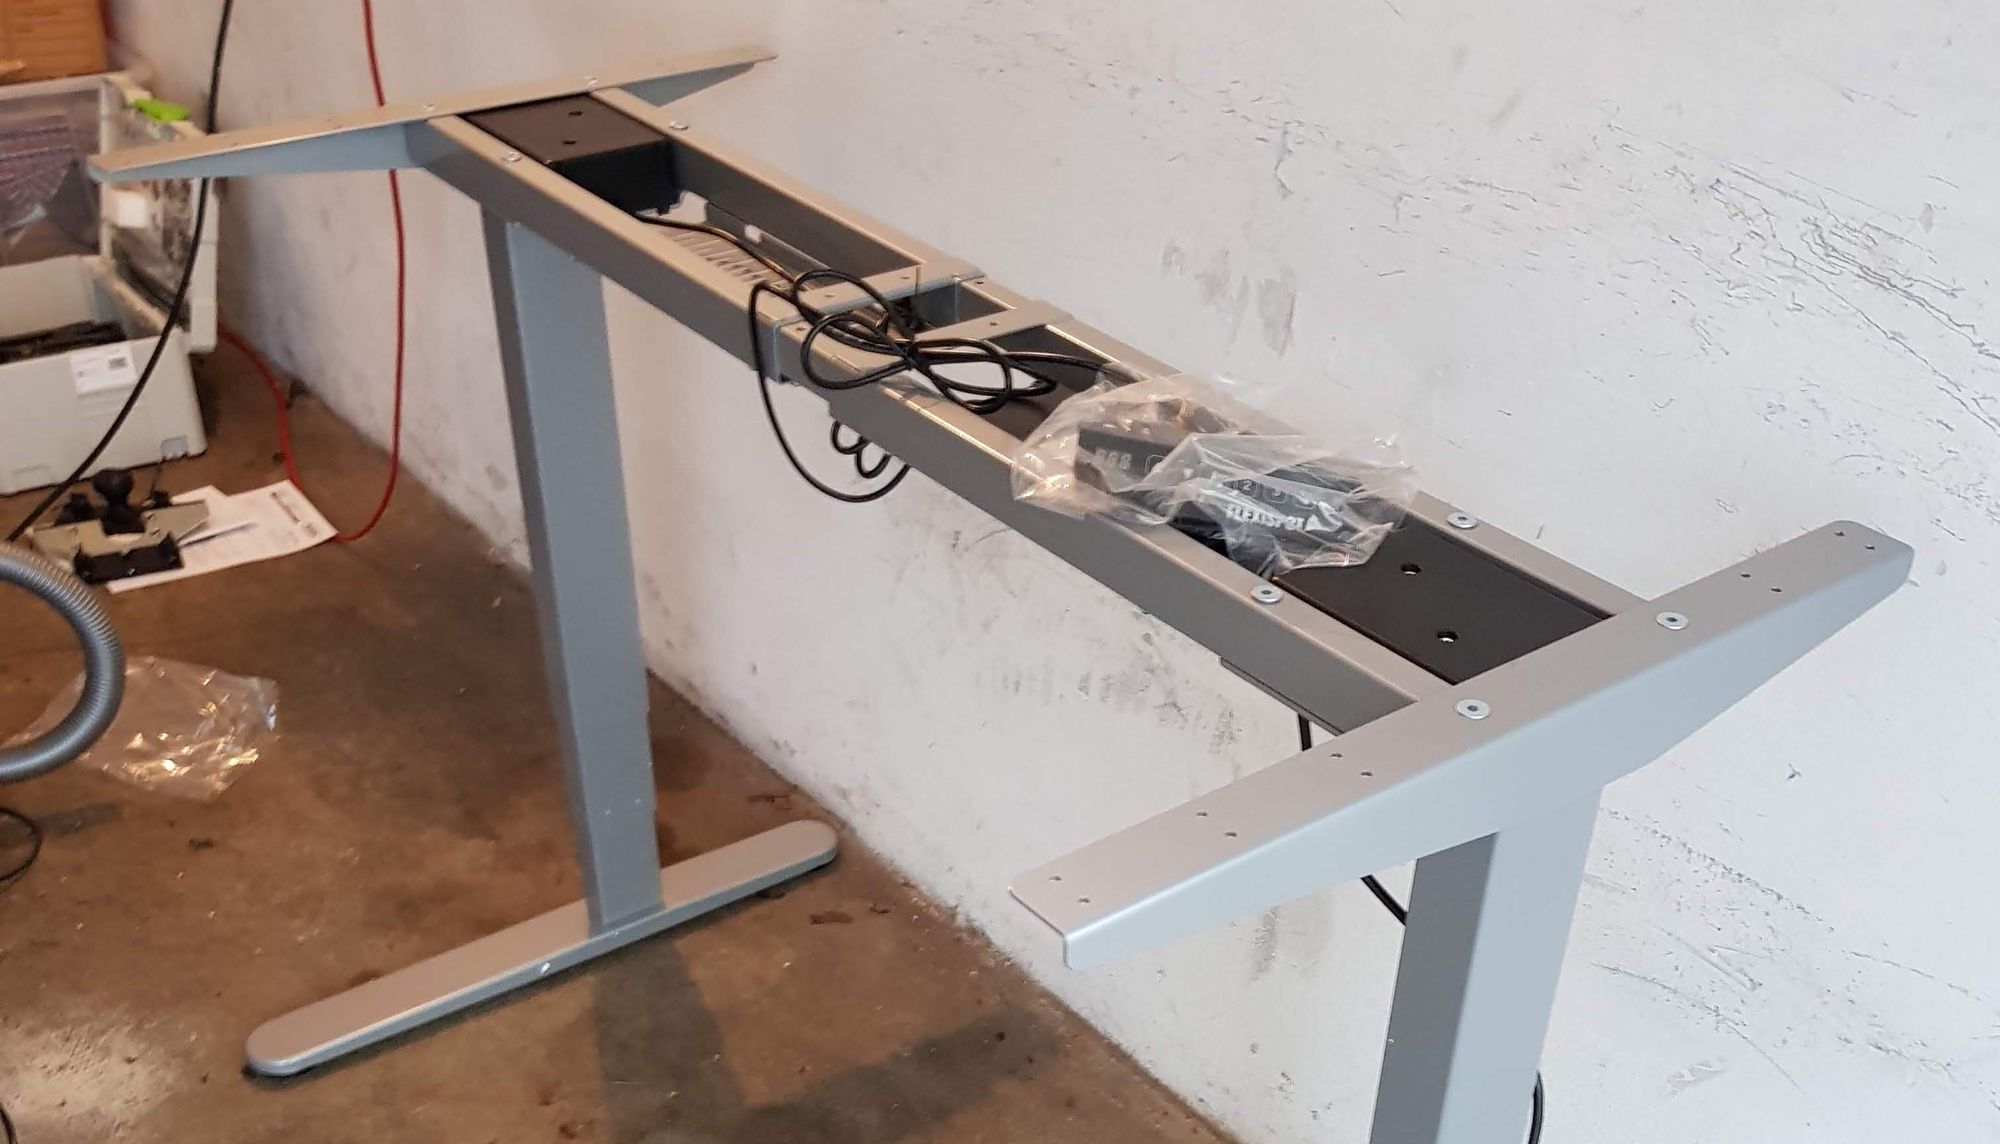
I used the Flexispot E5S* for the legs. IKEA offers a much cheaper model, which I also tested at one of their stores. But theirs were really unstable and shaky when extended to a standing hight. The Flexispot one does a way better here and runs fast and smoothly.
Another big benefit of the Flexispot legs is that the distance between the legs is adjustable. So you can use them for tables of any size.
Monitor Stand
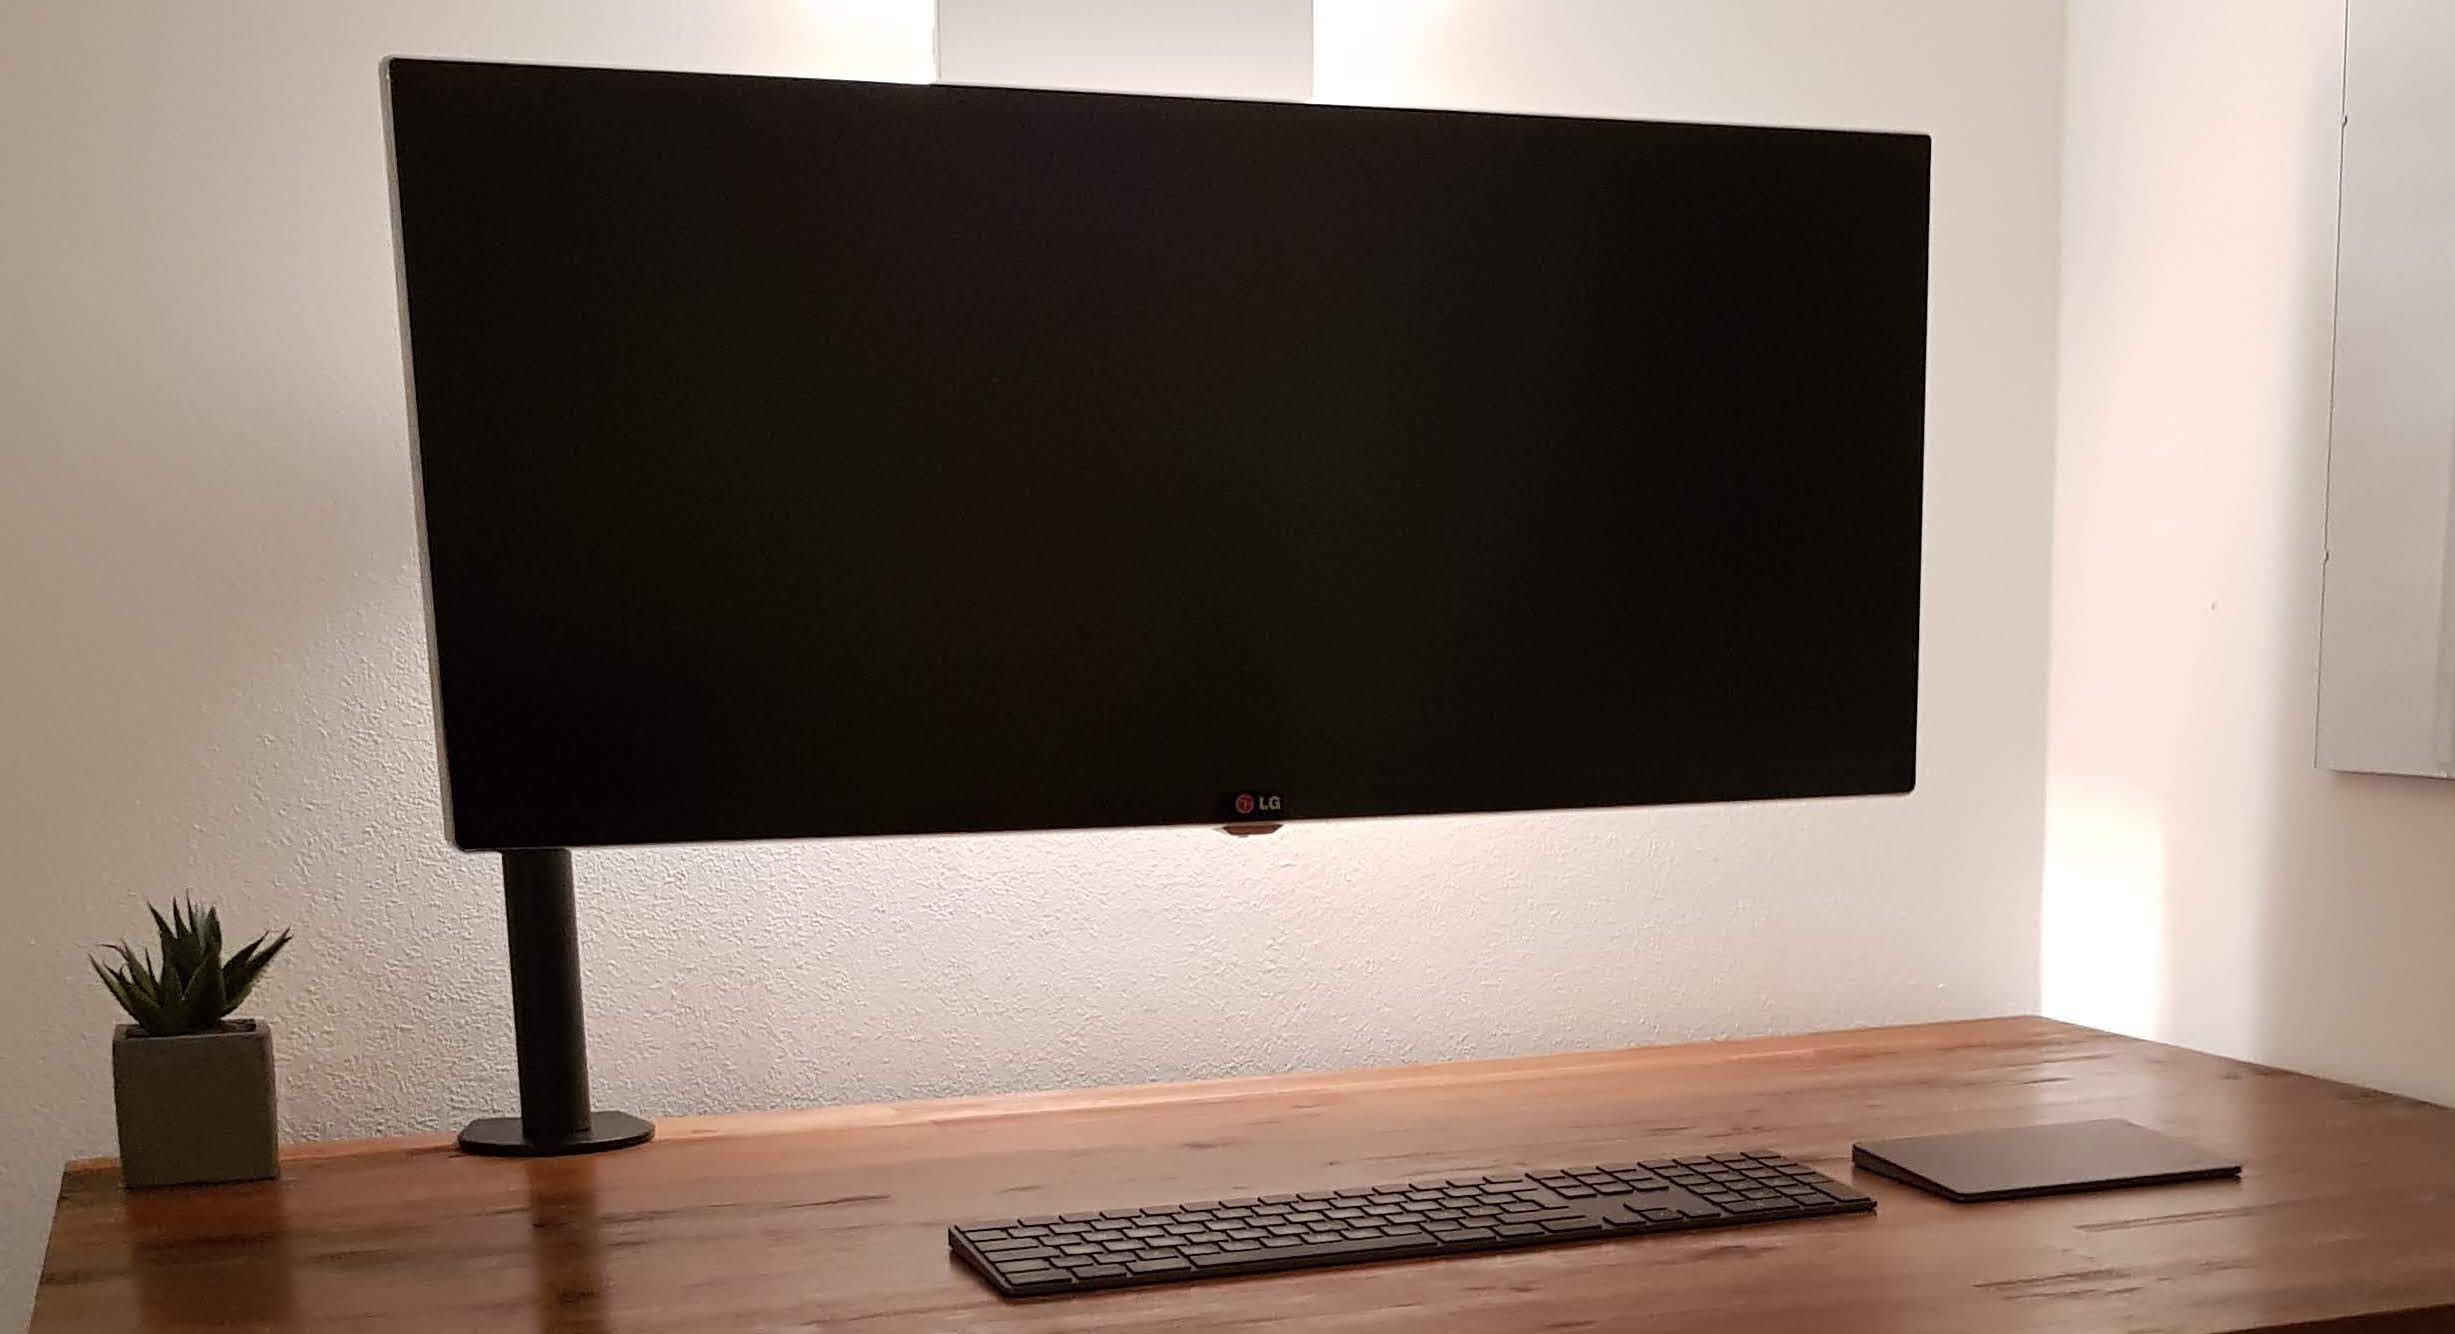
As mentioned earlier, it was very important to me, that my desk is clean and tidy. So I wanted to use a monitor stand that does not use too much space of my table surface, is completely adjustable and hides all the cables.
The RICOO TS5711* was fairly cheap and did a perfect job. It is really strong and has some rudimentary cable management included.
Also, I liked the offset look from not placing the monitor stand at the center but the far left of my table.
One cable to rule them all
As you might be able to tell by now, I don't like cables very much. At least, I don't like so see them. So cable management was really important to me.
There is just a single cable on my desk: A textile USB-C extension cable* that connects my MacBook to the whole system, when I come home. This cable is connected to an Apple USB hub* under the desk, which provides power, connects to the monitor via HDMI and other devices like an external hard drive.
If you don't use a MacBook, you can search for other alternatives. There are many single-cable-solutions out there these days like the Microsoft Surface Dock* for example.
For managing all the other cables, I use the IKEA SIGNUM cable basket*, which easily holds the cables under my desk. So there is only a single power cable going from my desk's cable basket to the power outlet in the wall. This is the only cable that has to be long enough for the standing position. All other cables are attached to the desk itself.
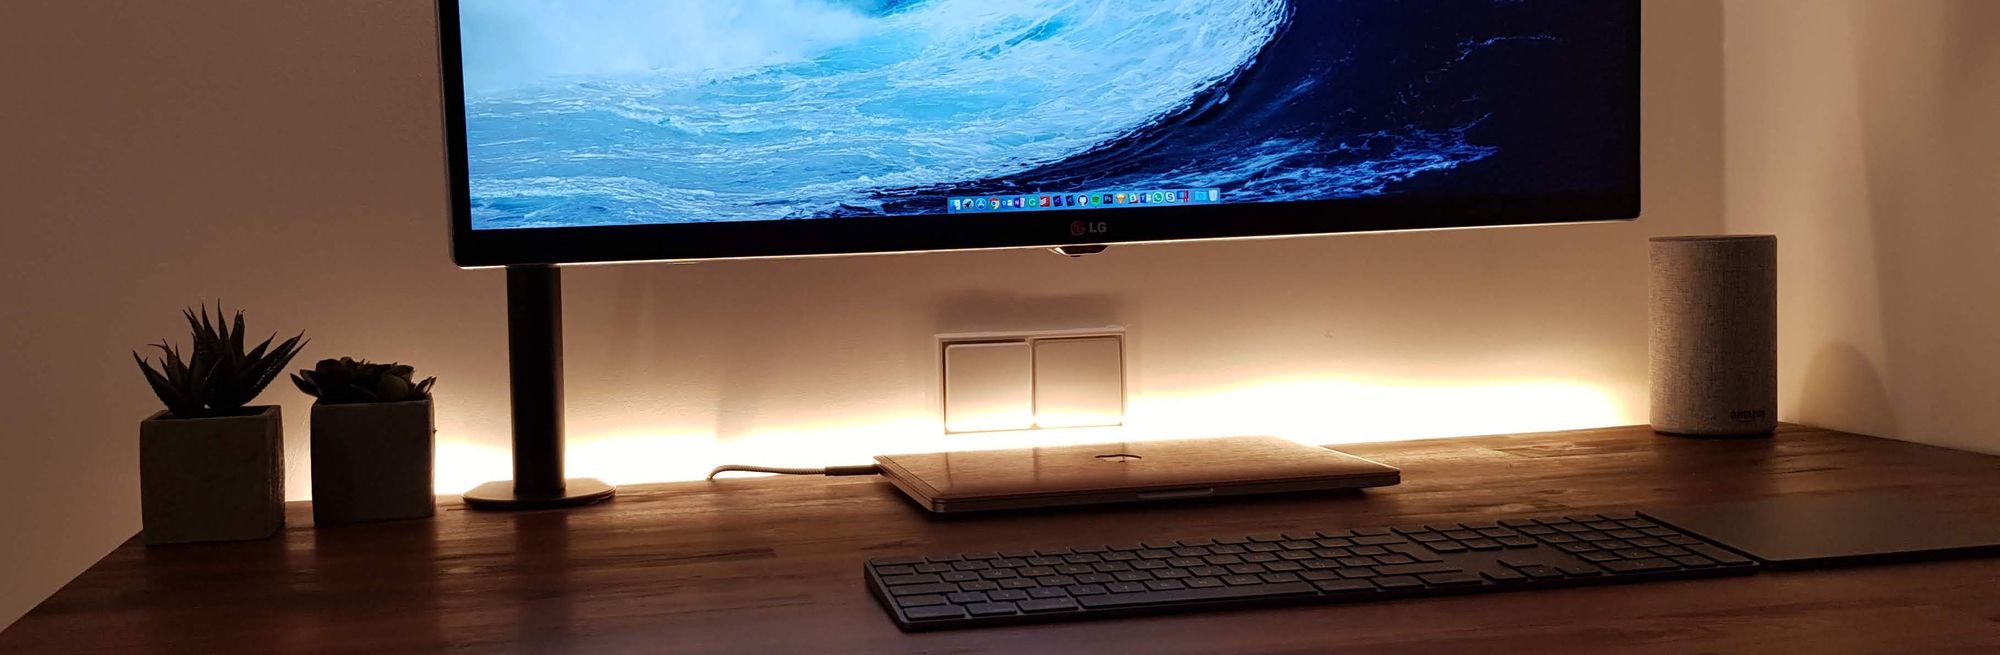
Background light
The indirect light behind the desk comes from a Philips Hue LightStrip+* that has been taped at the back of the tabletop board. Additionally, I have placed a Philips Hue Wireless Dimming Switch* under the desk to control the light.
Full list of parts
- Standing legs: Flexispot E5S*
- Wireless Charger: Anker PowerPort 5*
- Monitor Stand: RICOO TS7511*
- Monitor: LG 34UM94C-P*
- USB-C extension cable: CabelCreation *
- USB-C hub: Apple USB‑C Digital AV Multiport Adapter*
- Power Strip: Brennenstuhl Eco-Line*
- Cable basket: IKEA SIGNUM*
- LED strip: Philips Hue LightStrip+*
- LED control: Philips Hue Dimming Switch*
- Speakers: Logitech MX Sound*
- Keyboard: Apple Magic Keyboard*
- Trackpad: Apple Magic Trackpad*
*Affiliate Link
☝️ Advertisement Block: I will buy myself a pizza every time I make enough money with these ads to do so. So please feed a hungry developer and consider disabling your Ad Blocker.